Divi timeline module is one of the perfect front-end design you should be using if you want to highlight a certain process. In this blog, I will breakdown how you can manipulate your Divi timeline template using a custom CSS grid.
1. Declare a CSS Class On Your Divi Column Module
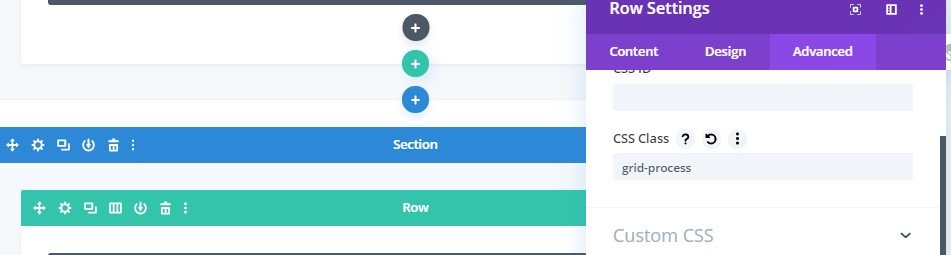
The column holds your text modules so we need to attach the custom CSS class to tweak the standard design in Divi. For this example, I prefer to name it grid-process.
Why I am using 1 column instead of 2?
If we use 2 columns, we can’t manipulate the text modules position. Basically, if you want to have full access to the positions of your text modules, they should be only sitting on 1 container.
2. Determine the position of Divi timeline text modules
These text modules are categorized into 3 sections namely v-line, right-align and left-align. Label as Line should have a class of v-line while Left should be left-align and obviously Right should be right-align.
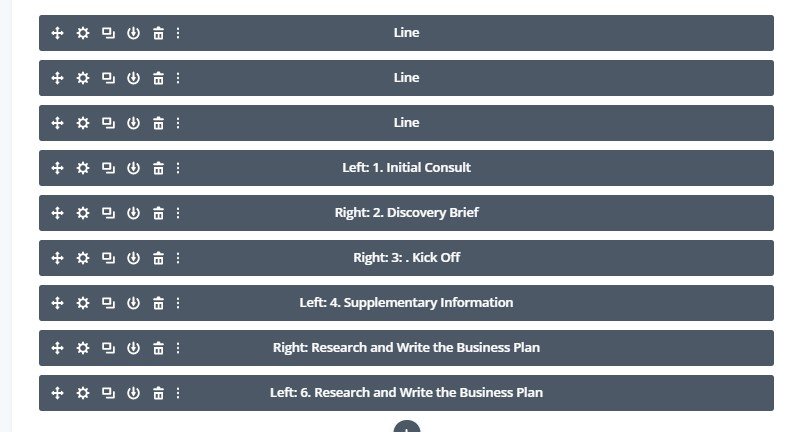
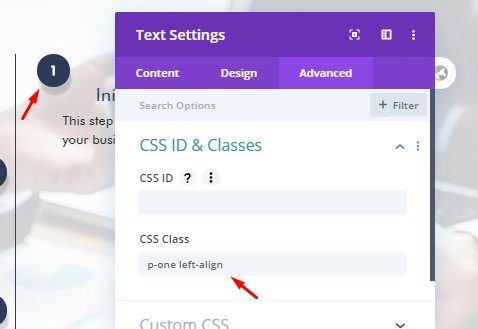
Let’s use the Left: 1. Initial Consult Label as an example. If you check the screenshot below, I have labeled the class to left-align because the Label is left.
Also, don’t forget to add the pagination class. Since this is number one, I added a class name called p-one. Kindly follow the process on the rest text modules.
Don’t have time to follow the steps above? Hire me for only $25 one-time setup, just leave me a message on Facebook
[ads]
Now, go back to content tab and type the following html code below under text tab. You can rename the class to stepwhite if you want to change the color into white instead of navy blue.
![]()
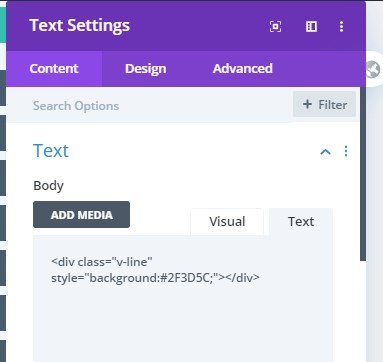
We’re almost finished! For the Line label, you can keep the CSS Class empty but make sure you put the empty div class just like below.
Feel free to change the color of your vertical line by changing the hex color under background e.g <div class=”v-line” style=”background:red;”></div>
It’s time to style your Divi timeline template! Go to WordPress dashboard > Divi > Theme Options > Custom CSS
Here’s the preview. This can be tweak according to your liking. Just edit the position of your grid areas for more flexible look.
Don’t have time to follow the steps above? Hire me for only $25 one-time setup, just leave me a message on Facebook
